本文同步刊載於 iT 邦幫忙第11屆鐵人賽:[LINE bot 好好玩 30 天玩轉 LINE API] 第 23 天:LINE Pay API 介紹
前言
最近幾個月有感覺 LINE 開始努力推 LINE pay 的服務了,所以就想了解怎麼用網頁串接 LINE Pay 呢?
今天就來跟著我了解怎麼申請 LINE Pay 的 sandbox 吧 ~
申請 LINE Pay sandbox 帳號
尋找 建立Sandbox 網址
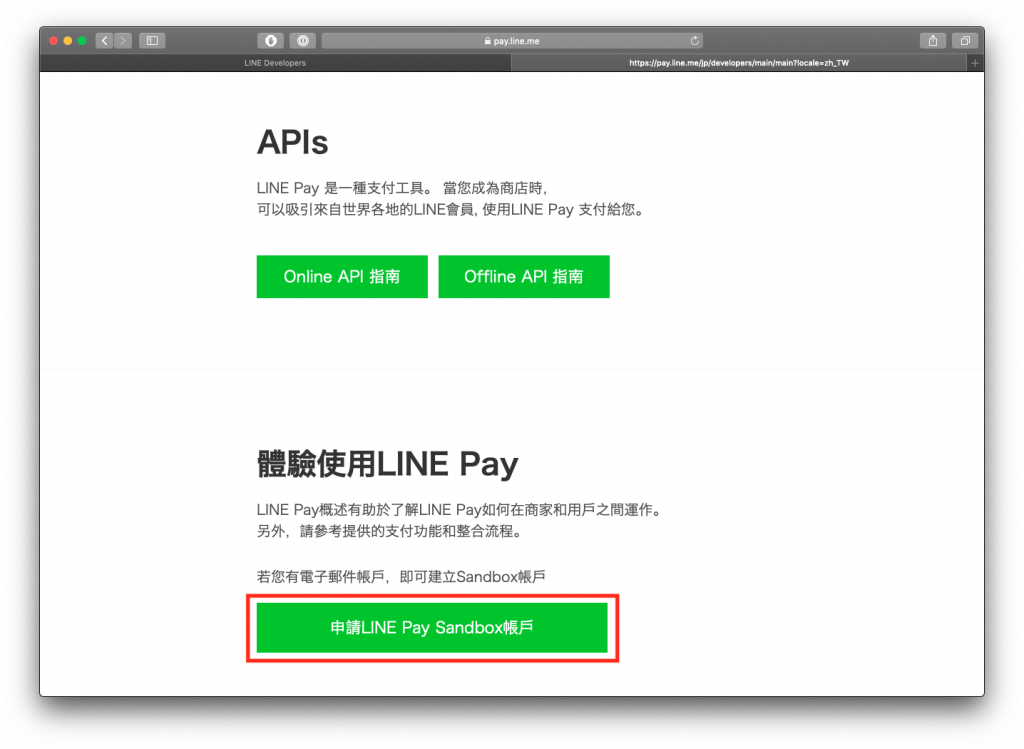
首先我們先到 LINE Pay 官網,滑到下面可以看到有一個 申請LINE Pay Sandbox帳戶
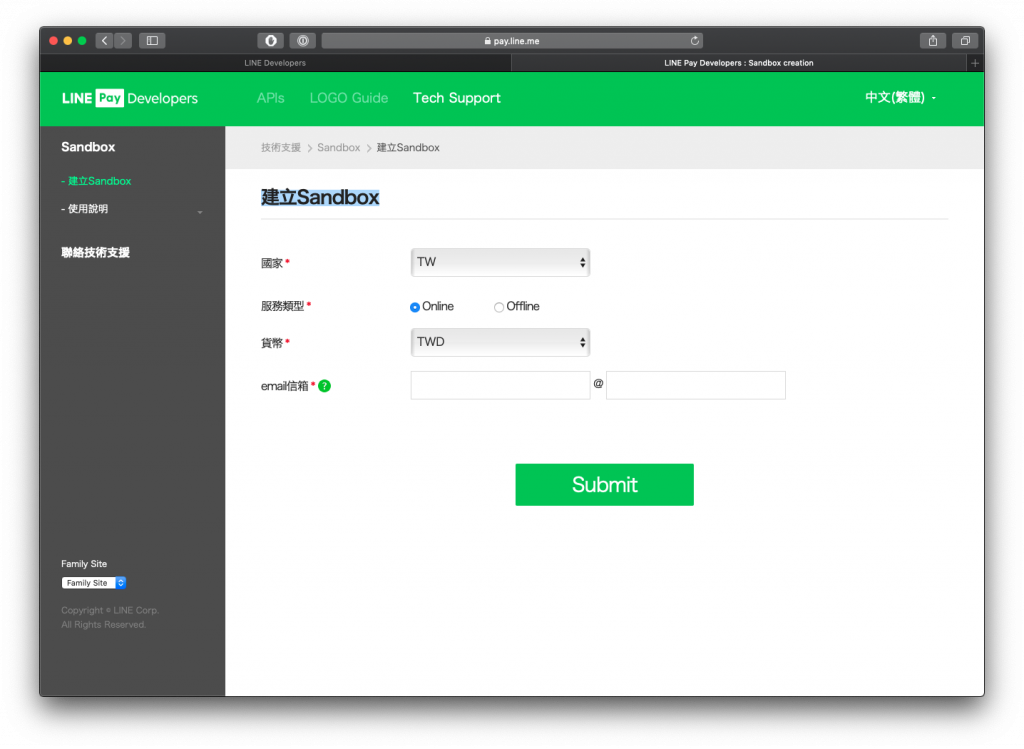
建立 Sandbox
輸入自己的 email 信箱
收信
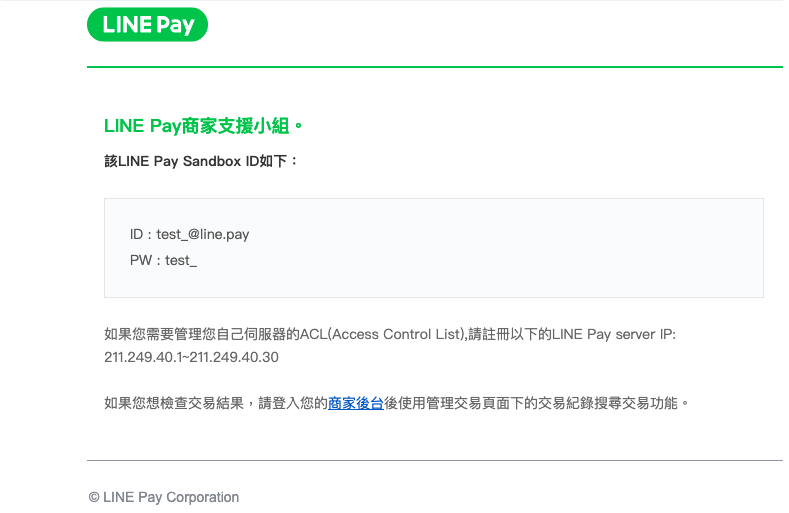
填完資料後會收到 Email
會寄送一封有帳號密碼的信件過來
登入後台
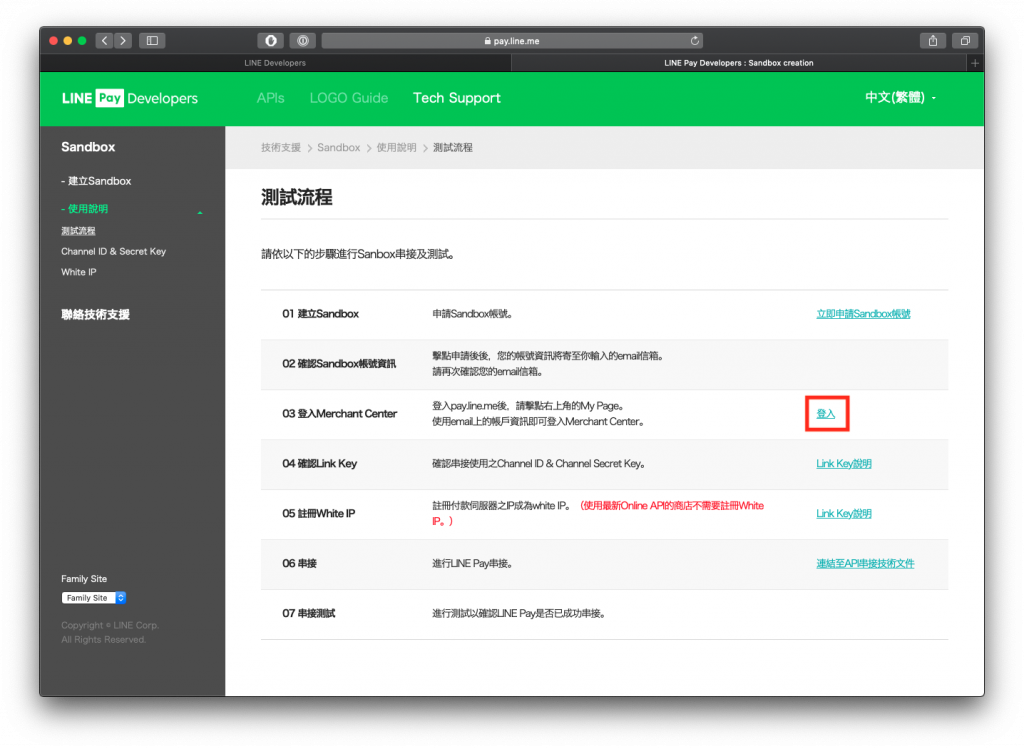
收到 Mail 之後我們就可以收測試流程的頁面裡面找到後台登入的位子後按下登入了,這時候要注意一下這個地方不是登入自己的 LINE 帳號,是要輸入剛剛 Mail 給的帳號,不然會登不進去!
登入後介面
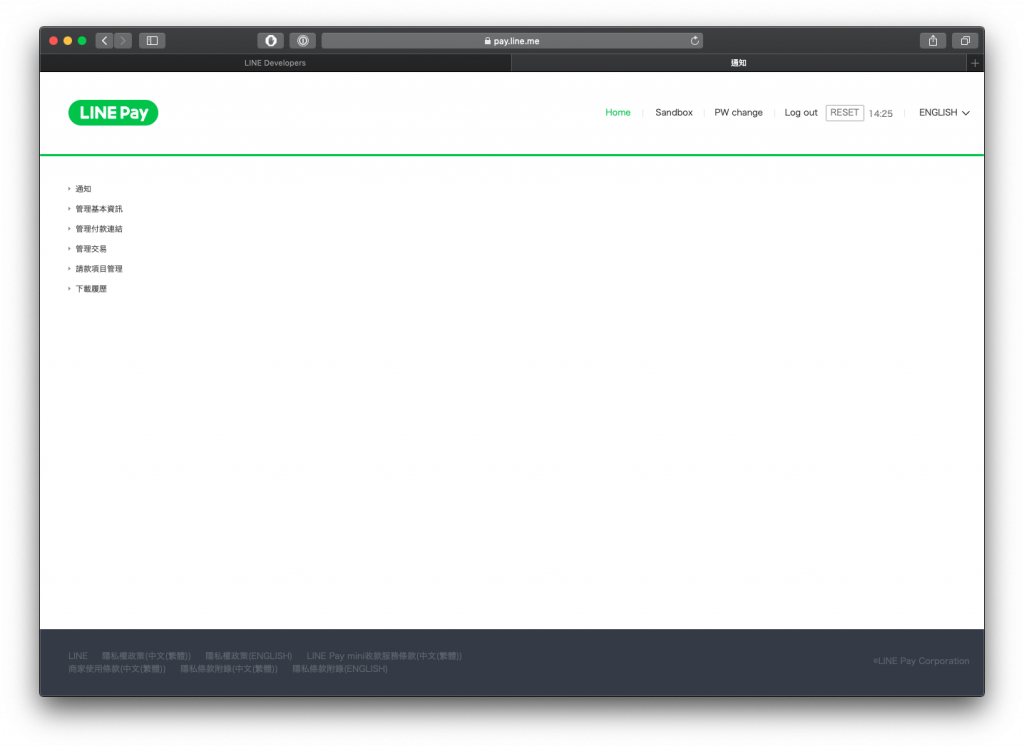
其實是一個滿陽春的介面,不過算是夠用了
管理付款伺服器 IP
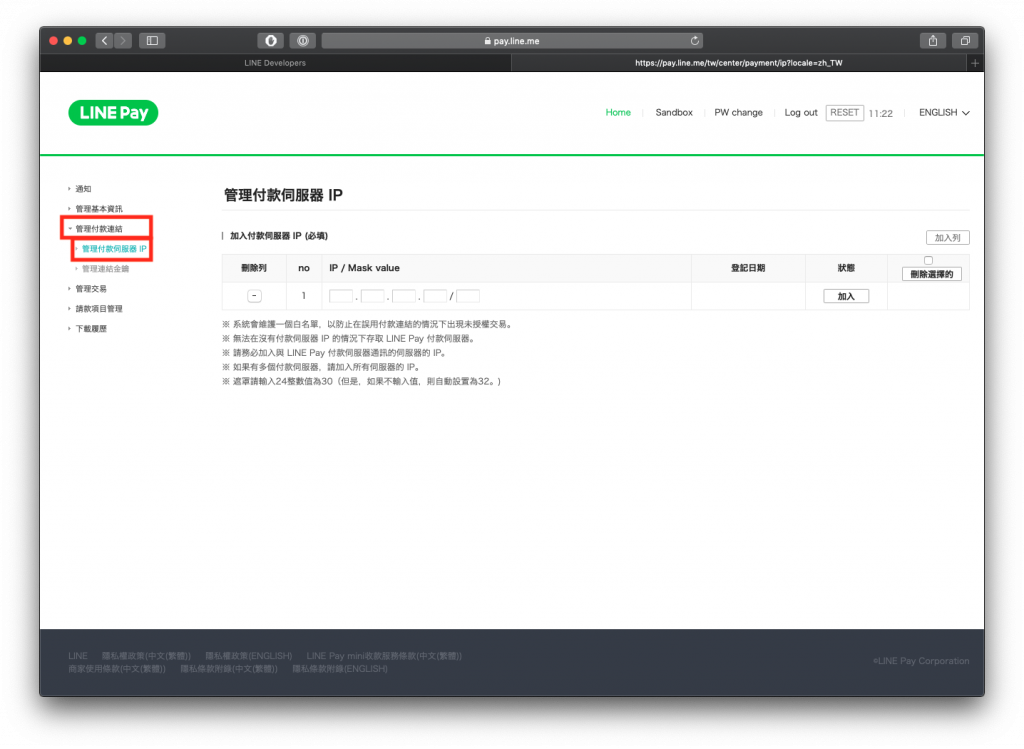
因為是金流系統所以白名單 IP 很重要,要使用 LINE Pay 之前要先把目前的 IP 位址加入才可以使用!
管理連結金鑰
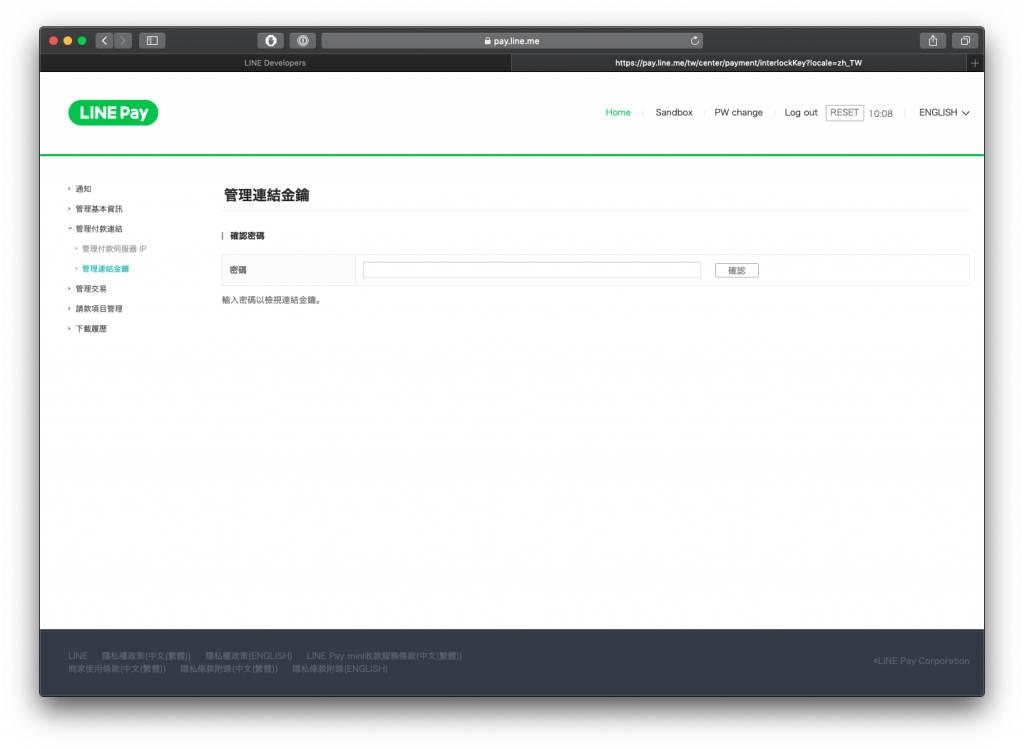
這邊需要再輸入一次密碼才可以進去
輸入完密碼就可以看到我們的
- Channel ID
- Channel Secret Key
這兩把 Key 很重要先記下來後面使用 API 需要用到它!
使用 Postman 做 LINE Pay 測試
製作 paymet 網址
一樣開啟我們的 Postman 輸入網址
- URL: https://sandbox-api-pay.line.me/v2/payments/request
- Method: POST
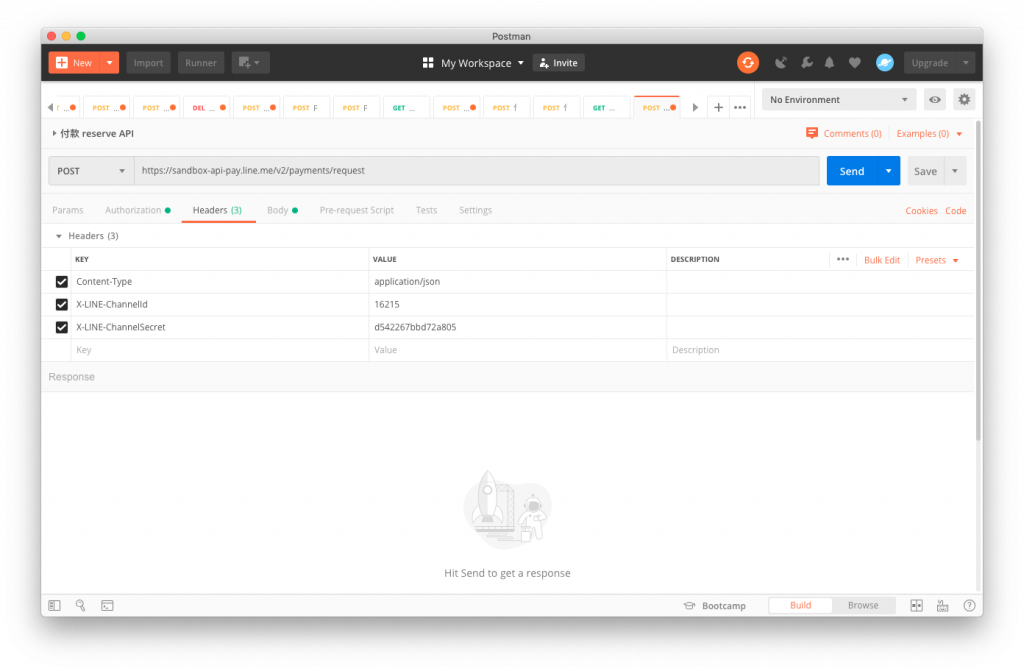
- Headers:
- Content-Type:application/json
- X-LINE-ChannelId:16215
- X-LINE-ChannelSecret:d542267bbd72a805
這邊要注意一下
X-LINE-ChannelId與X-LINE-ChannelSecret要改成自己網站上的 ~
- Body:
{
    "amount": 100,
    "productName": "ithome",
    "productImageUrl": "https://ithelp.ithome.com.tw/images/ironman/11th/event/kv_event/kv-bg-addfly.png",
    "confirmUrl": "http://127.0.0.1:3000",
    "orderId": "B858CB282617FB0956D960215C8E84D1CCF909C6",
    "currency": "TWD"
}
- amount: 價錢
- productName: 是產品名稱
- productImageUrl: 產品圖片
- confirmUrl: 確認網頁網址
- orderId: 自己自訂的購買 ID,要注意每次都要不一樣,這個是不可以重複的呦 ~
- currency: 幣值
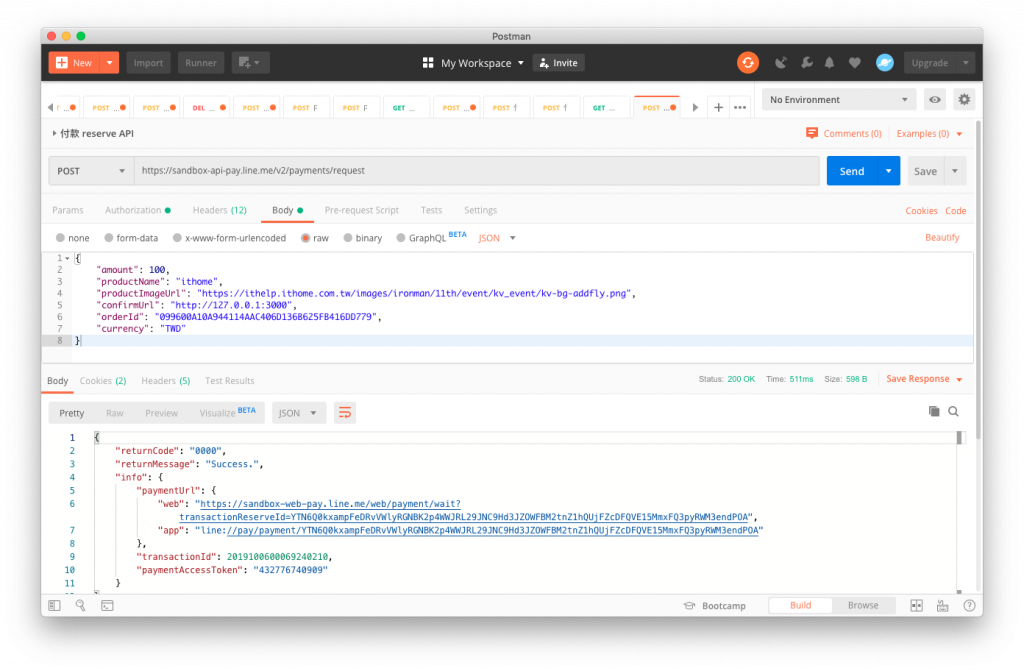
輸入完之後按下 send 會得到兩個網址,一個是給 web 使用的,一個是給 app 使用的
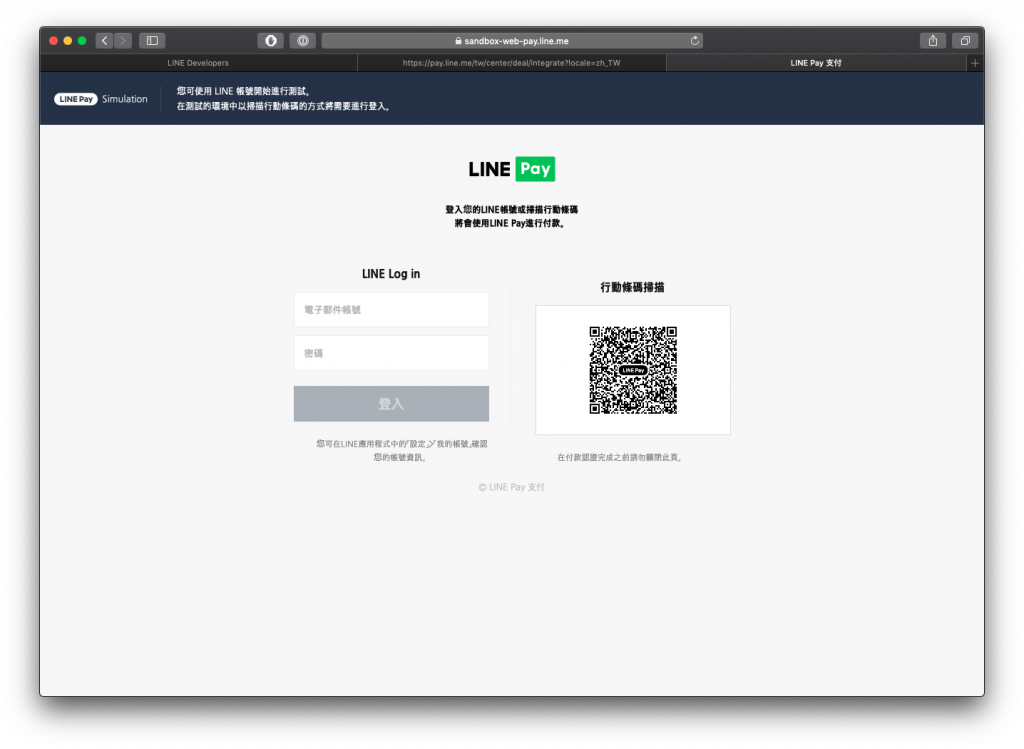
這邊說明 web 的
使用者使用 Web 的 Payment
這時候可用者可以決定要直接登入或掃描 QR Code,這邊以 LINE Log in 為例子
登入完出現付款 UI
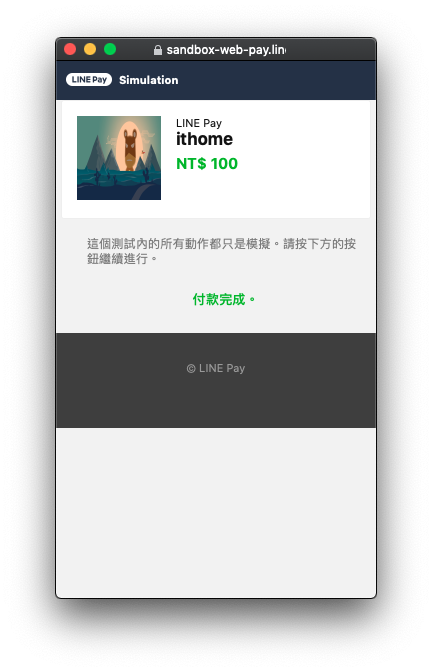
因為是 Sandbox 所以上面很清楚的說明 這個測試內的動作都是模擬
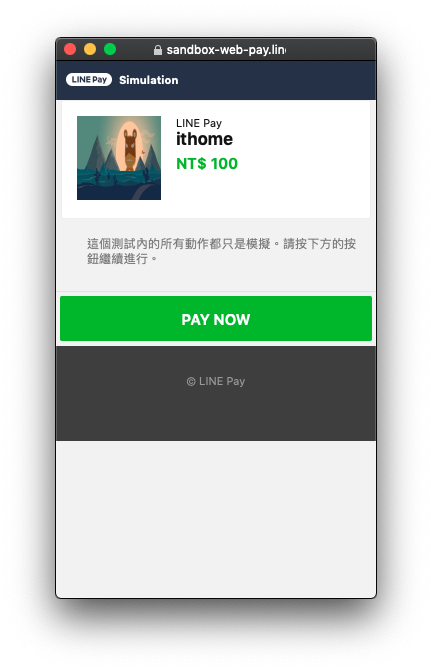
登入完出現付款 UI
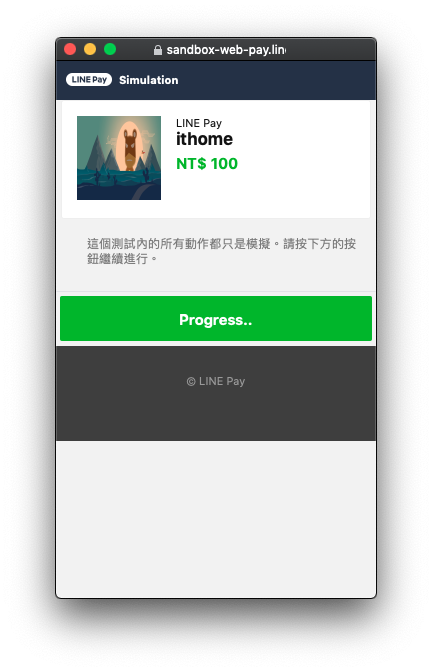
使用者按下付款後會出現 Progress..
按下付款出現完成的 UI
這時候系統處理完就會出現付款完成
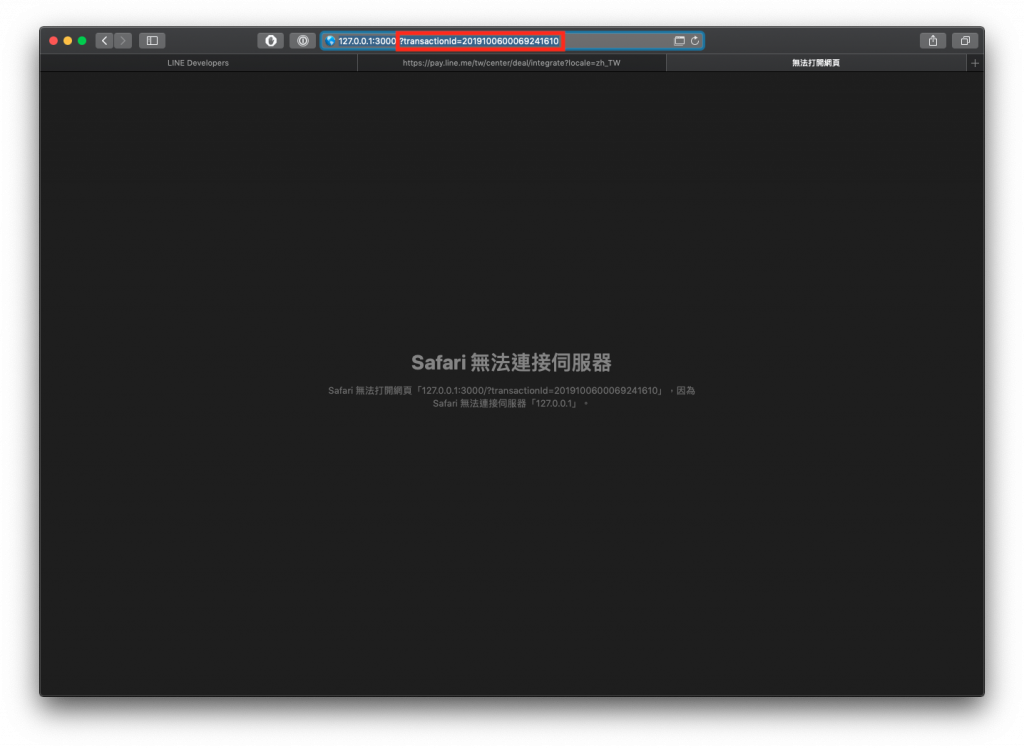
同時這時候會看到我們的網頁有一個跳轉
因為沒有開 Server 所以會出現無法連結伺服器,不過沒有關係這次的重點是那個 URL 的 transactionId
通常這個動作是要讓我們的 Server 收到後去做 confirm,這邊就用 Postman 替代這個動作
Payment confirm
Payments confirm
- URL: https://sandbox-api-pay.line.me/v2/payments/{transactionId}/confirm
- Method: POST
- Headers:
- Content-Type:application/json
- X-LINE-ChannelId:16215
- X-LINE-ChannelSecret:d542267bbd72a805
- Body:
{
    "amount": 100,
    "currency": "TWD"
}
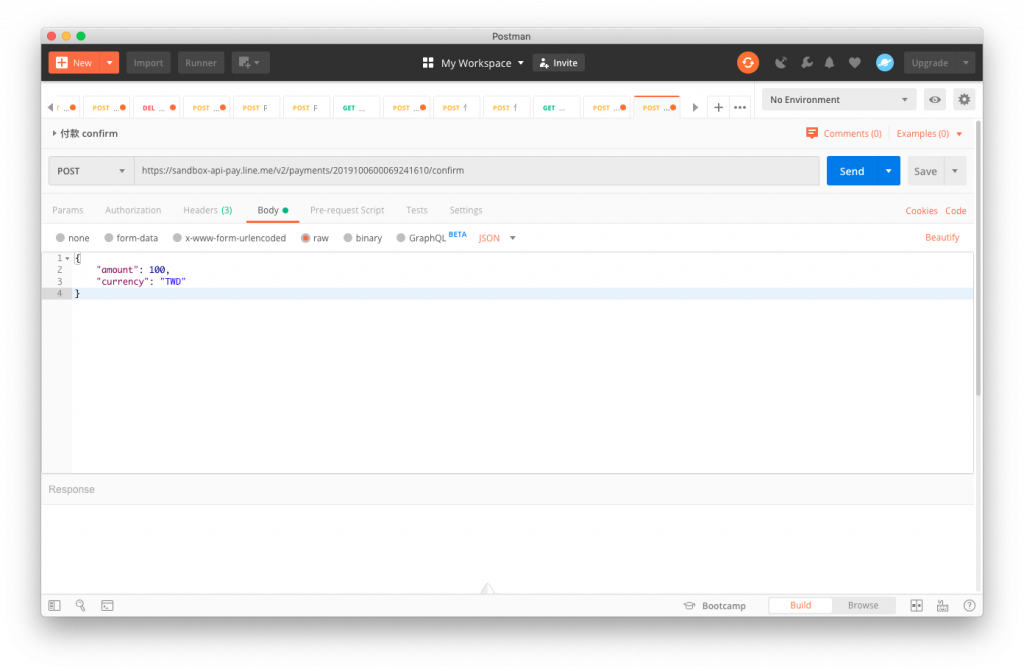
按下 Send
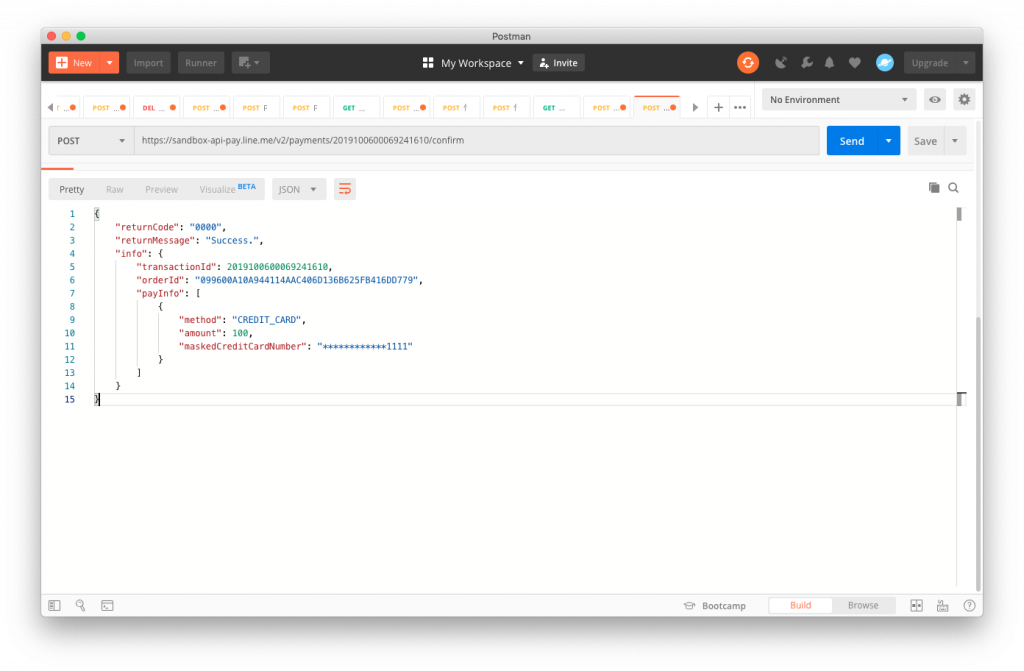
我們就可以看到使用者的付款資訊了
付款流程總結
基本上這樣的使用情境就可以應付大部分的情況了,主要就是兩個步驟
- 製作使用者付款的網址
- 同意使用者付款
《AWS CDK 完全學習手冊:打造雲端基礎架構程式碼 IaC》
第 12 屆 iT 邦幫忙鐵人賽 DevOps 組冠的《用 CDK 定 義 AWS 架構》
第 11 屆 iT 邦幫忙鐵人賽《LINE bot 好好玩 30 天玩轉 LINE API》
一個熱愛分享的雲端工程師!