說到部署機器怎麼可以少了 Load Balancing (LB) 呢?今天就來介紹 LB 吧!

在 CDK 的文件上面都是建議使用 Auto Scaling Group (ASG) 來設定,因為這樣才是一個高可用性架構,不過我覺得可以從單獨一個服務開始說起,畢竟單獨解釋一個服務會比較好理解,況且我知道很多公司的服務其實一台機器就可以頂住了 XD
建立 Load Balancing
建立 ALB
這次新增了一個新的 package 是 @aws-cdk/aws-elasticloadbalancingv2 它用來處理 Elastic Load Balancing
internetFacing 預設是 false,意思是創建一個內網的 Load Balancing 而我們這邊目前需要的是外網的所以要把它設定成 true
使用 CfnOutput 把 Load Balancing 的 DNS 印出來
import * as elbv2 from "@aws-cdk/aws-elasticloadbalancingv2";

const alb = new elbv2.ApplicationLoadBalancer(this, "ALB", {
  vpc,
  internetFacing: true,
});
new cdk.CfnOutput(this, "LoadBalancerDNS", {
  value: alb.loadBalancerDnsName,
});
新增 Listener
目前只有一個 Listener 使用 port 80,因為目前的服務是要給 HTTP 的
const listener = alb.addListener("Listener", {
  port: 80,
  open: true,
});
新增 Target 到 Listener
以昨天的服務來說我們有一個 /phpinfo.php 目前先用它來做 healthCheck 頁面之後會再修正它,用這個頁面來做其實不太正確不過就先頂著用吧 XD
另外加入 ec2Instance 當我們的 Target,如此設定就可以讓我們的 ALB 後面有一個 Target Group 而裡面有一台 ec2Instance 了
這邊需要注意一下我們的 targets 要使用 aws-elasticloadbalancingv2-targets package 來作為我們的 targets,因為 elbv2.InstanceTarget 要棄用了,所以不要使用 new elbv2.InstanceTarget(ec2Instance.instanceId) 呦!
import * as targets from "@aws-cdk/aws-elasticloadbalancingv2-targets";

listener.addTargets("Targets", {
  healthCheck: {
    enabled: true,
    path: "/phpinfo.php",
  },
  port: 80,
  targets: [new targets.InstanceTarget(ec2Instance)],
});
新增 Security Group
這邊需要注意一下預設的 ALB 會把 outbound 完全丟掉,所以需要特別新增 listener 到 EC2 的 Security Group
listener.connections.allowTo(ec2Instance, ec2.Port.tcp(httpPort));
ALB Security Group 如何限制 outbound
在閱讀 CDK Source Code 的時候發現一個很有趣的東西如果要阻止所有流量的時候會建立一條規則
- IP: 255.255.255.255/32 – 實際上沒有任何機器可以擁有此 IP
- Protocol: ICMP
- Port 252 – 實際上沒有定義的 Type
可以查看 Wiki 網際網路控制訊息協定
const MATCH_NO_TRAFFIC = {
  cidrIp: '255.255.255.255/32',
  description: 'Disallow all traffic',
  ipProtocol: 'icmp',
  fromPort: 252,
  toPort: 86,
};
https://github.com/aws/aws-cdk/blob/v1.64.1/packages/@aws-cdk/aws-ec2/lib/security-group.ts##L508-L523
整理一遍整個服務的 Code
最後我們一樣把整個 Source Code 整理一次給大家,讓大家方便好部署 XD
const vpc = new ec2.Vpc(this, "VPC", {
  maxAzs: 3,
  natGateways: 0,
});

// 設定 Security Group
const mySecurityGroup = new ec2.SecurityGroup(this, "SecurityGroup", {
  vpc,
  allowAllOutbound: true,
});
mySecurityGroup.addIngressRule(
  ec2.Peer.anyIpv4(),
  ec2.Port.tcp(22),
  "allow public ssh access"
);

// 設定上傳的 User Data 腳本
const asset = new assets.Asset(this, "Asset", {
  path: path.join(__dirname, "../", "ec2-config", "configure.sh"),
});

// 設定 EC2 機器
const ec2Instance = new ec2.Instance(this, "Instance", {
  vpc,
  instanceType: ec2.InstanceType.of(
    ec2.InstanceClass.T3,
    ec2.InstanceSize.NANO
  ),
  machineImage: ec2.MachineImage.latestAmazonLinux({
    generation: ec2.AmazonLinuxGeneration.AMAZON_LINUX_2,
  }),
  securityGroup: mySecurityGroup,
  vpcSubnets: {
    subnetType: ec2.SubnetType.PUBLIC,
  },
  keyName: "Clarence_KeyPair",
});
new cdk.CfnOutput(this, "EC2PublicDns", {
  value: ec2Instance.instancePublicDnsName,
});
new cdk.CfnOutput(this, "EC2PublicIp", {
  value: ec2Instance.instancePublicIp,
});

const localPath = ec2Instance.userData.addS3DownloadCommand({
  bucket: asset.bucket,
  bucketKey: asset.s3ObjectKey,
});
ec2Instance.userData.addExecuteFileCommand({
  filePath: localPath,
  arguments: "--verbose -y",
});
asset.grantRead(ec2Instance.role);

// 設定 Load Balancer
const httpPort = 80;
const alb = new elbv2.ApplicationLoadBalancer(this, "ALB", {
  vpc,
  internetFacing: true,
});
new cdk.CfnOutput(this, "LoadBalancerDNS", {
  value: alb.loadBalancerDnsName,
});

const listener = alb.addListener("Listener", {
  port: httpPort,
  open: true,
});
listener.connections.allowTo(ec2Instance, ec2.Port.tcp(httpPort));

listener.addTargets("Targets", {
  healthCheck: {
    enabled: true,
    path: "/phpinfo.php",
  },
  port: httpPort,
  targets: [new targets.InstanceTarget(ec2Instance)],
});
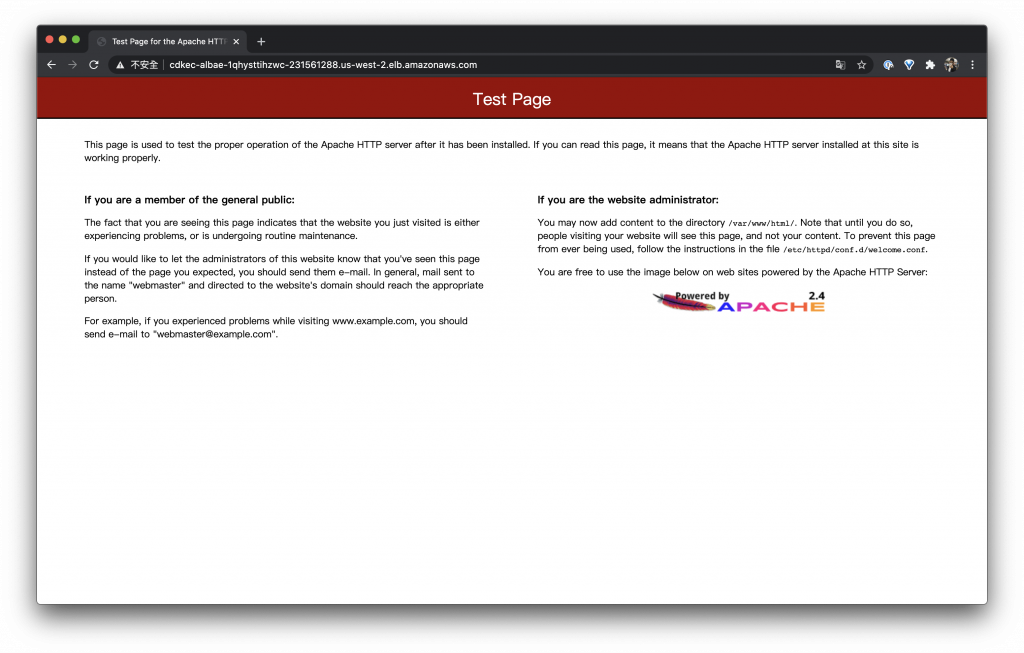
測試 ALB 網址
我目前拿到的
- CdkEc2Stack.LoadBalancerDNS: http://cdkec-albae-1qhysttihzwc-231561288.us-west-2.elb.amazonaws.com/
測試 Test Page
打開它試試看
測試 phpinfo.php
http://cdkec-albae-1qhysttihzwc-231561288.us-west-2.elb.amazonaws.com/phpinfo.php

結論
以上是今天的 ALB 介紹希望有幫助到大家,話說我有在網路上找了找好像目前沒有人寫過單一台 Instance 接在 ALB 後面的文,今天就介紹給大家啦!
想要看更多嗎?歡迎到我的部落格參觀
文章內容主要是網路或是程式開發類型的文章
《AWS CDK 完全學習手冊:打造雲端基礎架構程式碼 IaC》
第 12 屆 iT 邦幫忙鐵人賽 DevOps 組冠的《用 CDK 定 義 AWS 架構》
第 11 屆 iT 邦幫忙鐵人賽《LINE bot 好好玩 30 天玩轉 LINE API》
一個熱愛分享的雲端工程師!