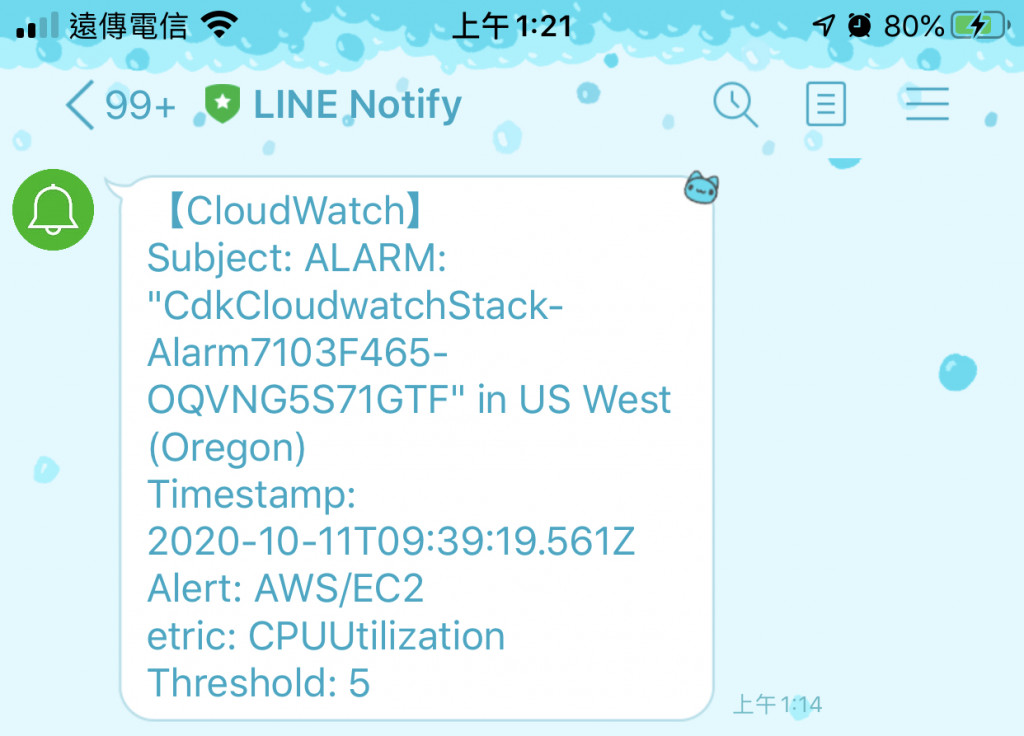
前幾天說了很多建置系統的方法但是對於監控系統沒有太多的說明,今天就來一個 CloudWatch 傳送 Alarm 到 LINE 的教學吧!先給大家看看今天的成品
目標
今天的目標是要模擬我們開的 EC2 發生 CPU Utilization 過高觸發 CloudWatch Alarm 發送告警訊息給 LINE Notify 整個觸發流程是
- EC2 CPU Utilization 過高觸發 CloudWatch Alarm
- CloudWatch Alarm 觸發 SNS Action
- SNS Action 觸發 Lambda
- Lambda 發送 HTTP Request 把訊息帶給 LINE Notify
所以需要創建的服務會有
- EC2
- CloudWatch Alarm
- SNS Action
- Lambda
創建 SNS Topic
我們先創建 SNS
const topic = new sns.Topic(this, "Topic");
創建 Cloudwatch Metric
在創建 Cloudwatch Alarm 之前需要先把資料抓出來,所以先創建一個 Metric,指定我們要抓的資料是 AWS/EC2 以 CPU Utilization 為目標,並且指定 EC2 Instance Id
const metric = new cloudwatch.Metric({
  namespace: "AWS/EC2",
  metricName: "CPUUtilization",
  dimensions: {
    InstanceId: instance.instanceId,
  },
  period: cdk.Duration.minutes(1),
});
創建 Cloudwatch Alarm
準備好 Metric 後就可以把 Alarm 創建起來,範例定義 threshold 為 5
平常比較常用的應該是 85 上下取一個比較能判斷發生問題的值,不過我們為了方便測試以 5 為我們的閾並設定 period 為 1
const alarm = new cloudwatch.Alarm(this, "Alarm", {
  metric,
  threshold: 5,
  evaluationPeriods: 1,
});
串接 Cloudwatch Alarm 與 SNS
設定完之後把 Alarm 與 SNS 連起來
import * as cw_actions from "@aws-cdk/aws-cloudwatch-actions";

alarm.addAlarmAction(new cw_actions.SnsAction(topic));
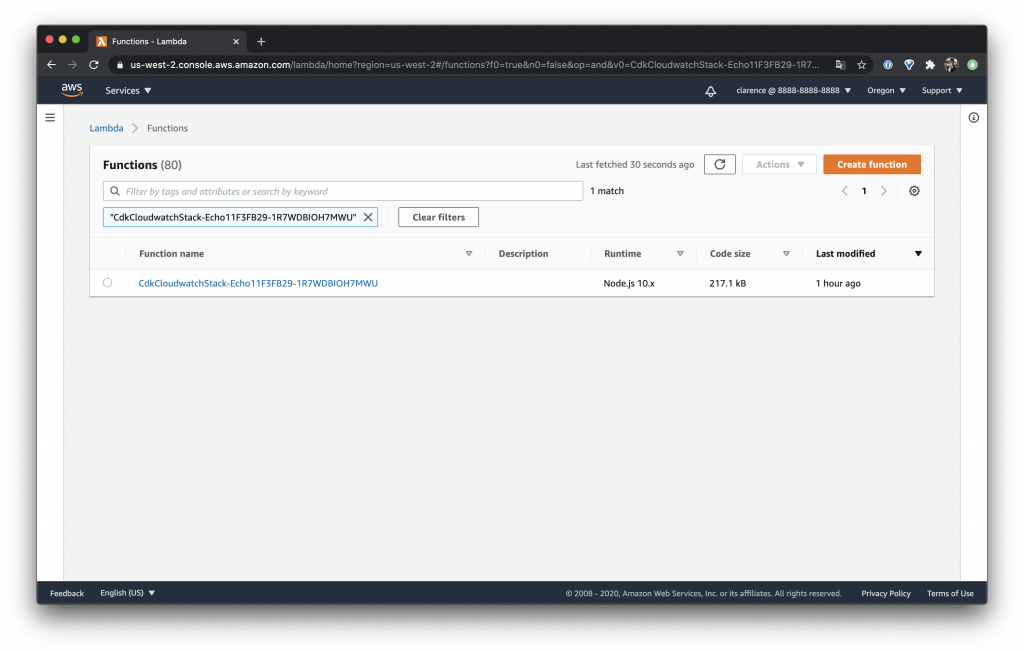
創建 Lambda 並取得發送 LINE Notify 方法
創建一個 Lambda 這邊我準備好了腳本大家只要把它 Clone 下來就好拉!
Github:https://github.com/clarencetw/sns-alarm.git
$ git clone https://github.com/clarencetw/sns-alarm.git lambda
這邊記得要切換 tag 到 v1.0.0 ,不然會與此篇範例教學不一樣呦!
$ git checkout v1.0.0
還有一個要注意的是要修改 "your-line-notify-token",此參數是 LINE Notify 專用的 Token 取得方法請參考我之前的文章
const myFunction = new lambda.Function(this, "Lambda", {
  handler: "index.handler",
  runtime: lambda.Runtime.NODEJS_10_X,
  code: lambda.Code.fromAsset("lambda"),
});
SNS 訂閱 Lambda
topic 訂閱剛剛創建的 Lambda
topic.addSubscription(new subscriptions.LambdaSubscription(myFunction));
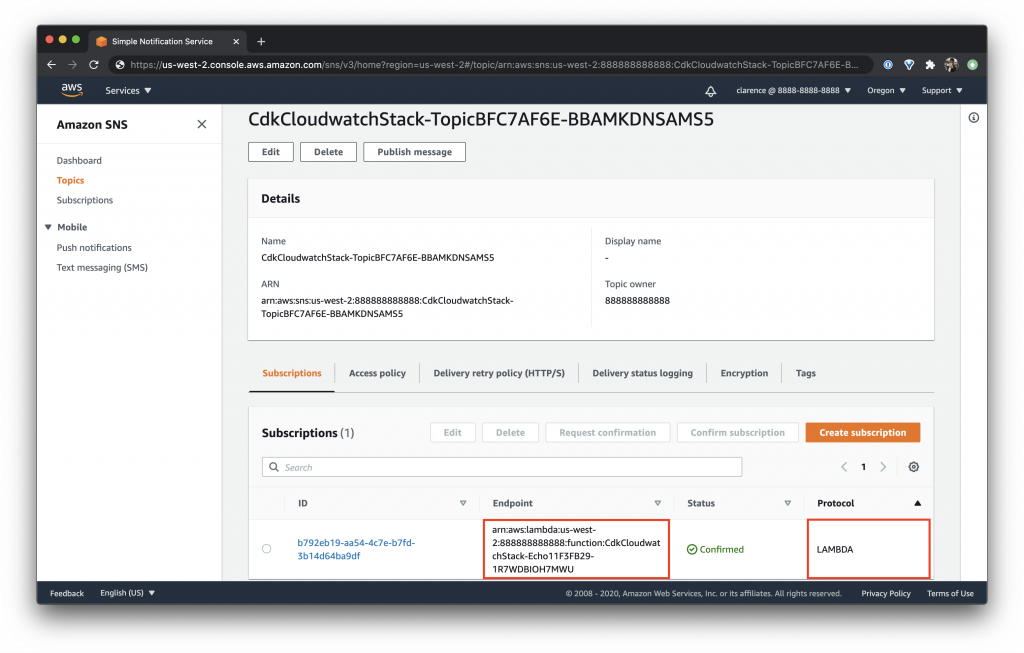
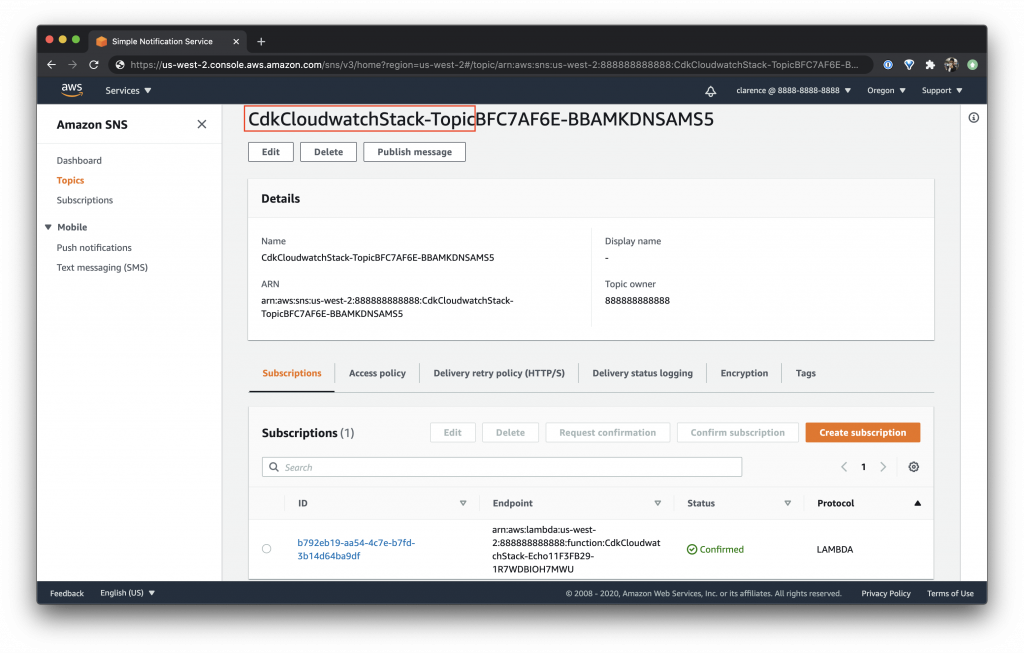
在 SNS 的 Subscriptions 可以看到 Endpoint 為 Lambda
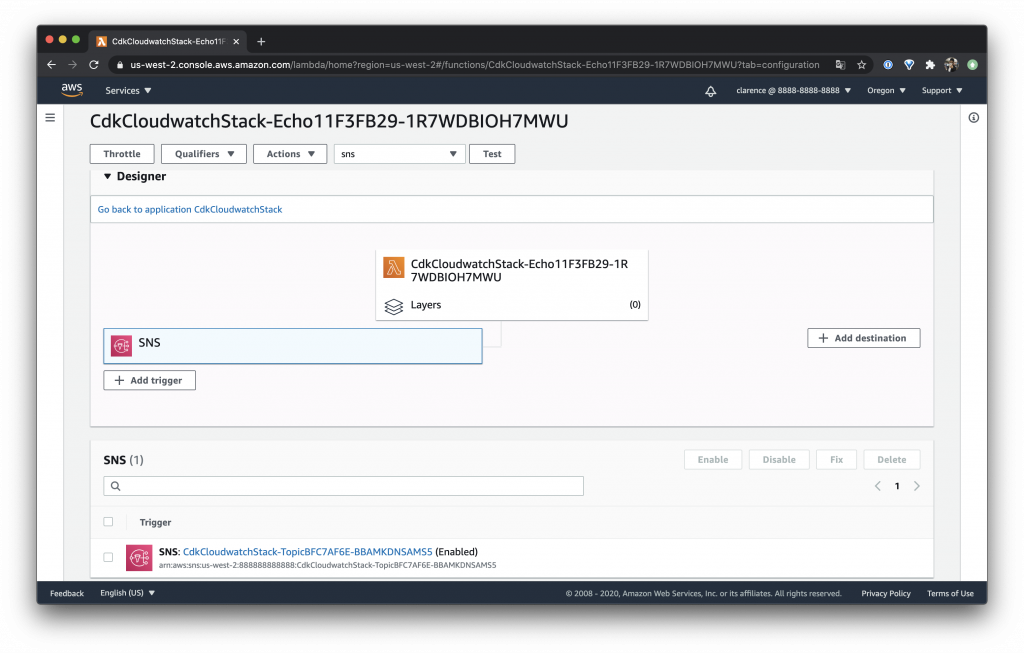
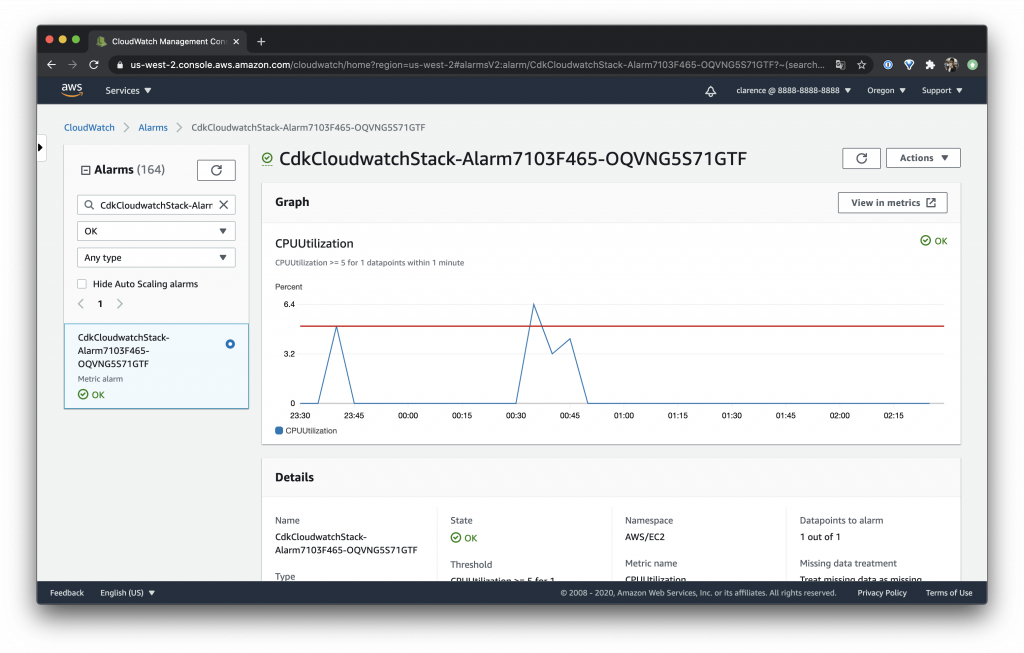
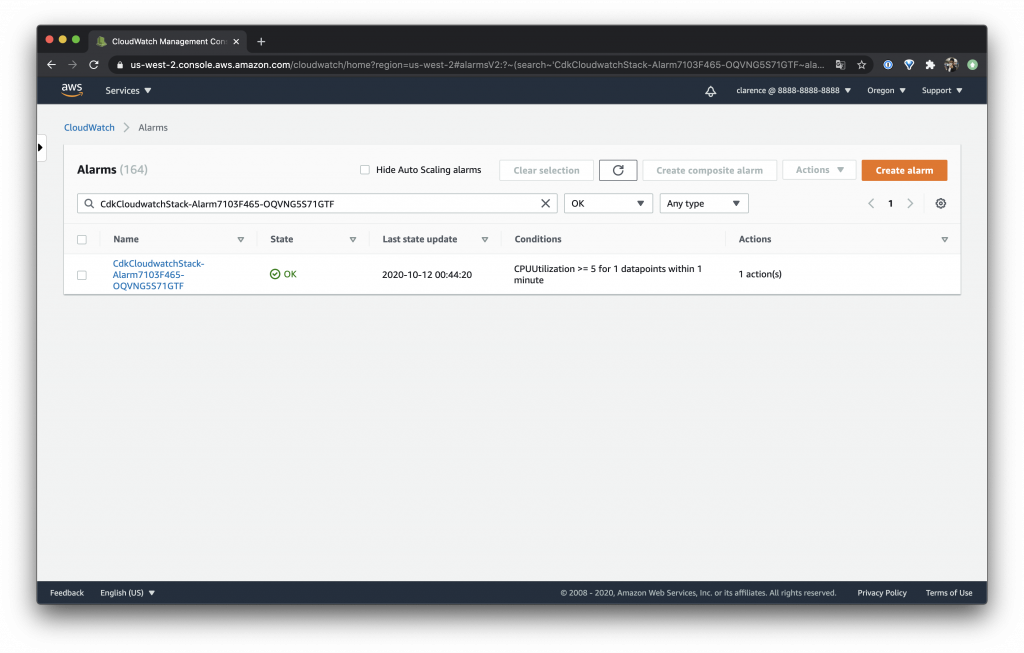
可以在 CloudWatch 看到 SNS 的 Trigger
整理一下
如此就完成一個可以收到 CloudWatch 通知的系統拉!
這邊也跟大家說明一下之前的範例都是每次建立一個 VPC 這樣其實有點久,所以這次就使用 fromLookup 讓它尋找 Default VPC 可以讓整個建置的速度變快
const vpc = ec2.Vpc.fromLookup(this, "VPC", {
  isDefault: true,
});

const securityGroup = new ec2.SecurityGroup(this, "SecurityGroup", {
  vpc,
  allowAllOutbound: true,
});
securityGroup.addIngressRule(ec2.Peer.anyIpv4(), ec2.Port.tcp(22));

const instance = new ec2.Instance(this, "Instance", {
  vpc,
  instanceType: ec2.InstanceType.of(
    ec2.InstanceClass.T3A,
    ec2.InstanceSize.NANO
  ),
  machineImage: ec2.MachineImage.latestAmazonLinux({
    generation: ec2.AmazonLinuxGeneration.AMAZON_LINUX_2,
  }),
  securityGroup,
  vpcSubnets: {
    subnetType: ec2.SubnetType.PUBLIC,
  },
  keyName: "KeyPair",
});

const topic = new sns.Topic(this, "Topic");

const metric = new cloudwatch.Metric({
  namespace: "AWS/EC2",
  metricName: "CPUUtilization",
  dimensions: {
    InstanceId: instance.instanceId,
  },
  period: cdk.Duration.minutes(1),
});

const alarm = new cloudwatch.Alarm(this, "Alarm", {
  metric,
  threshold: 5,
  evaluationPeriods: 1,
});

alarm.addAlarmAction(new cw_actions.SnsAction(topic));

const myFunction = new lambda.Function(this, "Lambda", {
  handler: "index.handler",
  runtime: lambda.Runtime.NODEJS_10_X,
  code: lambda.Code.fromAsset("lambda"),
});

topic.addSubscription(new subscriptions.LambdaSubscription(myFunction));
今天介紹了一個使用 CloudWatch 發送 LINE Notify 的方法,其實網路上應該有滿多文章在教學這段的,不過這次的重點其實在於教大家怎麼使用 CDK 串接 CloudWatch、SNS 與 Lambda!希望對大家有幫助 ~